Some time back, don’t ask when because I can’t give you a date, and it’s not important anyway since you could read this without knowing the exact… you know what? I’ll start again.
Start Again
Some time back I began to paint eggs for Easter to hand around to the family. It’s more personal that buying a bag of chocolate, a lot healthier, too.
I remember, as a child, my mother talking about how to ‘blow eggs’, and that manifested into a desire to give it a shot.
So I did. My first few attempts were pretty lame. The colour was messy, the lines weren’t straight, the images were uninspired. There are some cultures that paint Icons on their eggs, and pass a ribbon through, and make a real effort. I looked at those, and I looked at my efforts, and I looked toward getting a new hobby.
“No! Start again, see what you did wrong and fix it,” I said, “It’ll be better the next time around, you’ll see!”
So I did. And it was better. That’s all well and good, but what can I share with you folk who want to blow and paint your own eggs?
Rather than eat the elephant all at once, I’ll fill you in on the bits and pieces that I’ve learnt in successive posts. There’ll be a bunch of photos and diagrams, which I apologise for in advance, but it’s a necessary evil.
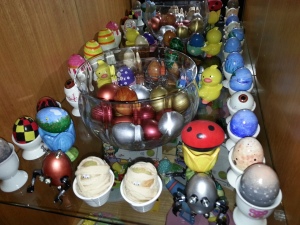
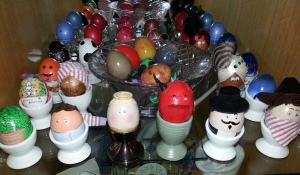
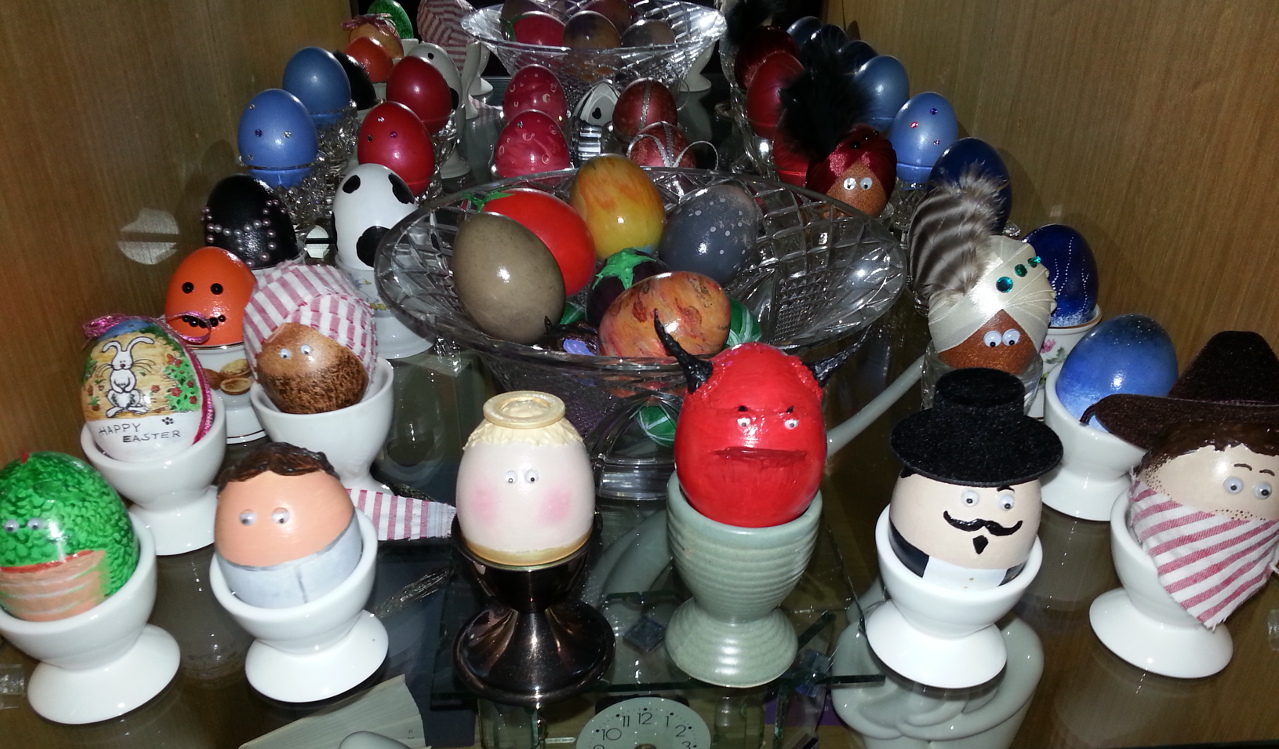
Once you’ve got the hard bits sorted, you can get onto making all sorts of designs, like ‘Princess Egg Layer’, ‘Eggs Benedict’, ‘Deviled Eggs’, ‘Harlequin Egg’, ‘Ladybirds’, ‘Night Sky’, ‘Cowboy’, ‘Cthulu’, etc. It doesn’t even need to be painted, either. Onion skin eggs look super. You can use crayons and pencils to colour, or dyes or even leave it ‘natural’ if you’ve got a nice enough shell.
If you’ve got any specific requests, such as ‘Hey, Jez, how did you make the eyeball?’ just let me know. Until then, I’ll get cracking on making up some diagrams to help out with the basics.

