In my previous post, I showed you how I turned my sketches into vector graphics, ripe for insertion into Synfig.
When I first opened Synfig Studio, I didn’t know where to start. There were panels and boxes and buttons and, yeah, no idea. I went online and looked up a tutorial on getting started. It covers the basics and a few gotchas, so it’s worthwhile sitting back and absorbing the info, even if it’s just to get the general idea of it all. Don’t skip any bits, even if it seems obvious, because you might miss out on an important detail.
Like what?
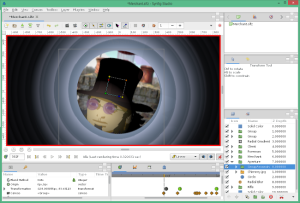
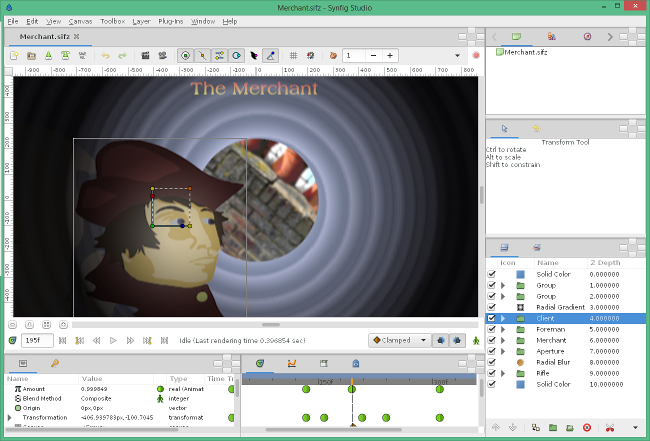
 For example, you’ll notice that there is a little green man in the bottom right of the main panel which, when clicked, turns red. It also highlights the main panel in a thick, red border to reinforce the message. This defines the static versus dynamic state, and is fundamental when animating waypoints and keyframes.
It’s mentioned in the tutorial, so I won’t go over it here, but know that if something ain’t working for you, check to make sure what mode you’re in. Once I figured out what that was all about, one of many Aha! moments, things became a whole lot easier.
The next thing to know is that Synfig works a lot with Layers. You can group layers together with a Group Layer (fancy that), and you can specify the height of one layer with respect to another. For example, if you wanted to create a layer that held your character and give it a speech bubble, you could add a Layer to hold the character and all of its paths, and a Layer to hold the speech bubble with the text in a layer above that.
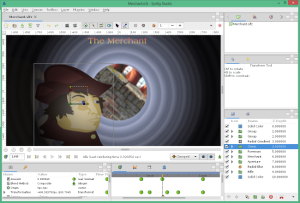
But Synfig has more cool features than just that. It can also provide Blurs, radial and motion and Gaussian, to give a sense of movement or depth of field. Just add in the layer above the layers you wish to blur, adjust the amount, and you’re ready to rock.
Animating Properties, not Pixels
A groovy thing that took me a good while to get me head around was the ability to animate the various properties of a layer over time. My original concept was that I would need to move things about manually, doing it all frame by frame like claymation. Not so. In fact, a lot of the hard work is removed once one figures out how to use waypoints to define the path of a property.
For example, you could change the starting angle of a conical gradient layer in a smooth sweep by setting waypoints, and letting the Synfig engine do the math to smoothly map between the points on a frame by frame basis, which is called tweening. In fact, almost any property of a layer that is numeric can be gracefully animated, including the starting and ending colour of a gradient, or the rotation or scale of a set of points, even the opacity!
Not only this, you can also set the Blend Method for your layers, allowing you to apply the layer as a screen to the underlying layers, or add/subtract/multiply/divide, or burn or dodge or colourise.
One of the features you might be interested in before you get started is that many of the value Types can be converted. For example, you can change from a real to a random or an integer, or change a vector to a radial composite. Oh yay, maths again. It’s kind of inescapable, but it does allow you to do some very interesting things, especially when you tie one variable to another variable. If you are interested, go and have a look at some of the examples posted by Synfig gurus.
So why did I go to all the trouble of converting my  sketches to vector graphics? Because Synfig plays very nicely with vectors and paths, allowing you to animate any of the path features easily. I’ll get into how I imported my characters in the next post.
There are a few features that I wish I’d learnt about before I finished up, as one might expect. These include the use of bones to aid complex motion, onion skins and Time Loop layers. There is even the option to have multiple canvases with independent animation within a project, which, I reckon, would be way cool for things like lip-synching, twitches, eye movements, gestures, etc. If I’m ever given enough time to make another animation again, I’m going to be looking very carefully at these features.
Lastly, you don’t have to work only with vector graphics. You can import pngs and jpgs to help give you backgrounds and al of that, and they play nicely with the whole layering concept. There’s even the ability to add a sound layer so you can insert noises or music over the top of your animation! What more do you need? (Professional animators, please don’t answer that).
What can you take away from all of this? With Synfig studio under your control, the world is your oyster.
In my next posts, I’ll show you how I composed a scene, including where I think I went wrong, where I know I went wrong, and where I could do it better.

